The Best High-End Vintage Sony Walkmans for Audiophiles
Disclaimer: This article contains affiliate links. If you purchase gear through these links, Deck and Spool may earn a small […]
Disclaimer: This article contains affiliate links. If you purchase gear through these links, Deck and Spool may earn a small […]
Disclaimer: This article contains affiliate links. If you purchase gear through these links, Deck and Spool may earn a small
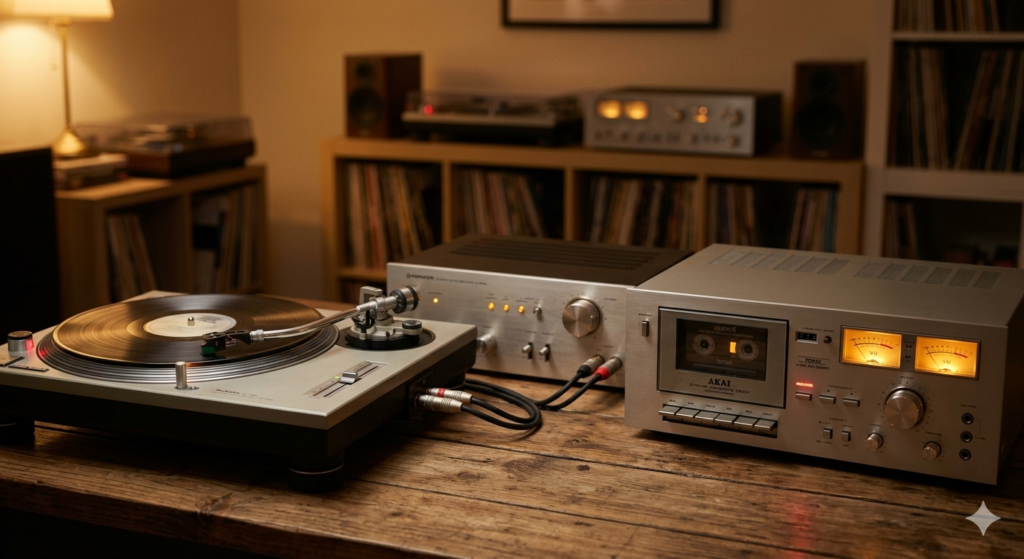
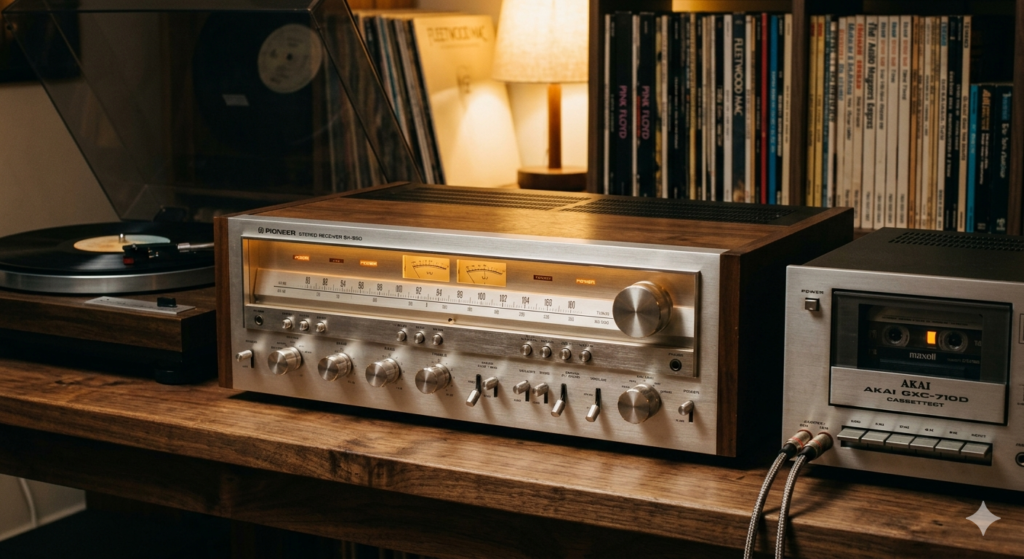
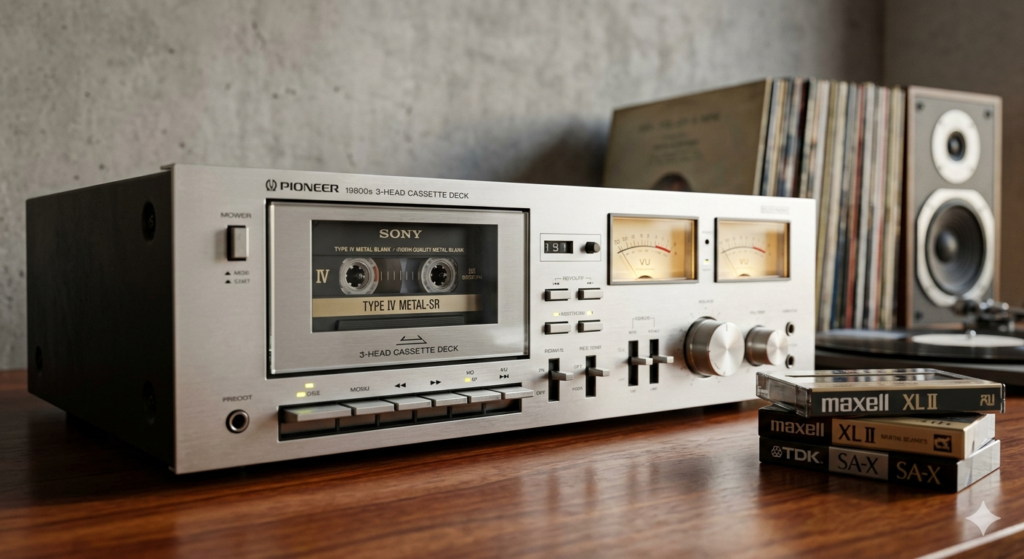
A turntable and vintage amplifier set up to record vinyl to cassette
The 3 Best Vintage Walkman Alternatives on eBay (That Won’t Break the Bank) We may earn a commission from purchases
Why Is My Cassette Deck Playing Slow? (And How to Fix It) We may earn a commission from purchases made
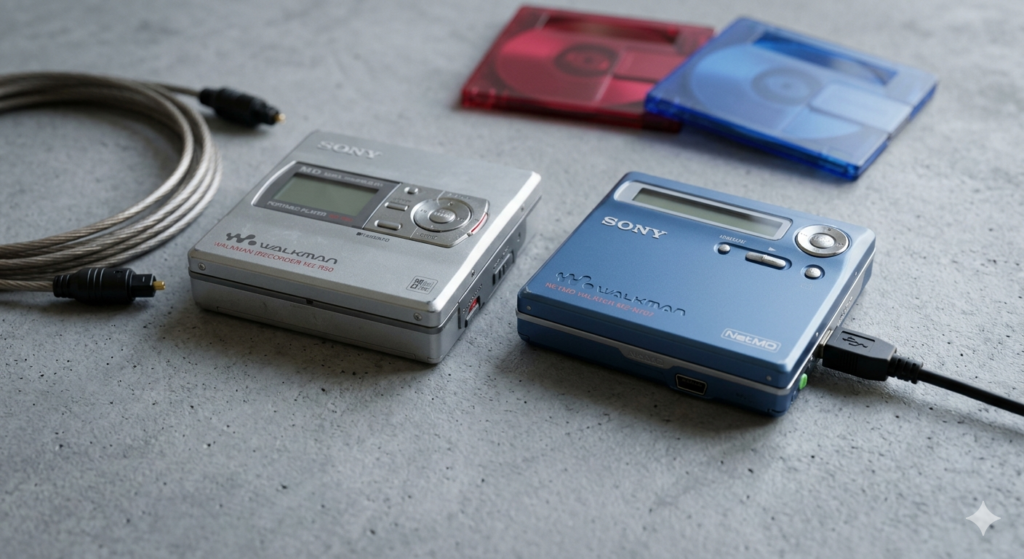
Sony MiniDisc Players: NetMD vs. Standard – Which Should You Buy? We may earn a commission from purchases made through

Review: Is the Sony MZ-N707 the Best Beginner MiniDisc Player in 2026? We may earn a commission from purchases made
The 3 Best Blank Cassette Tapes to Buy on eBay in 2026 (Type I, II, and Metal) We may earn
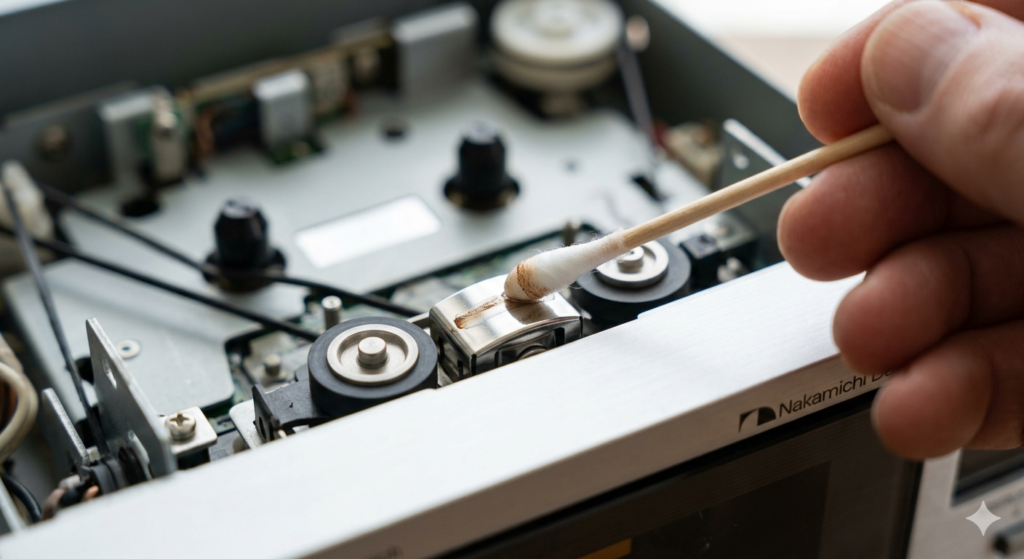
How to Clean and Maintain a Vintage Cassette Deck (A Step-by-Step Guide) We may earn a commission from purchases made
The Ultimate Guide to Buying a Vintage Cassette Deck on eBay in 2026 We may earn a commission from purchases